Sharing is caring!
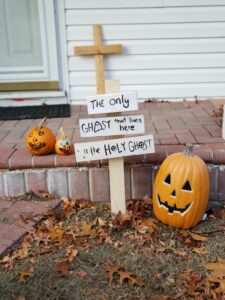
Cute and Easy DIY Catholic Halloween Lawn Sign
Halloween, also known as All Hallows Eve, marks the beginning of a holy season in the liturgical year known as Hallowtide. All Hallows Eve falls on the Eve of the Solemnity of All Saints. The Eve of Solemnities and big Feasts (such as Christmas) are days set aside to prepare for the main feast. As Catholics, we can educate and evangelize about the true roots and meaning behind Halloween. One easy way to be a light in the world this Halloween is with these simple DIY Catholic Halloween lawn signs.
Supplies
- wood scraps in the following suggested sizes (but feel free to use what you have on hand and adjust):
- 2 x 4: 9″, 12″, and 14″ long
- plywood (1/2″ thick): 3.5″ wide and 30″ long
- desired colors of tempera paint (I used white and black)
- paper plates or cups to hold the paint
- paint sponges for the background and Mod Podge
- thin paint brush for the design
- pencil
- six 2″ nails
- hammer
- mod podge
- mallet
Ideas for Sign Sayings
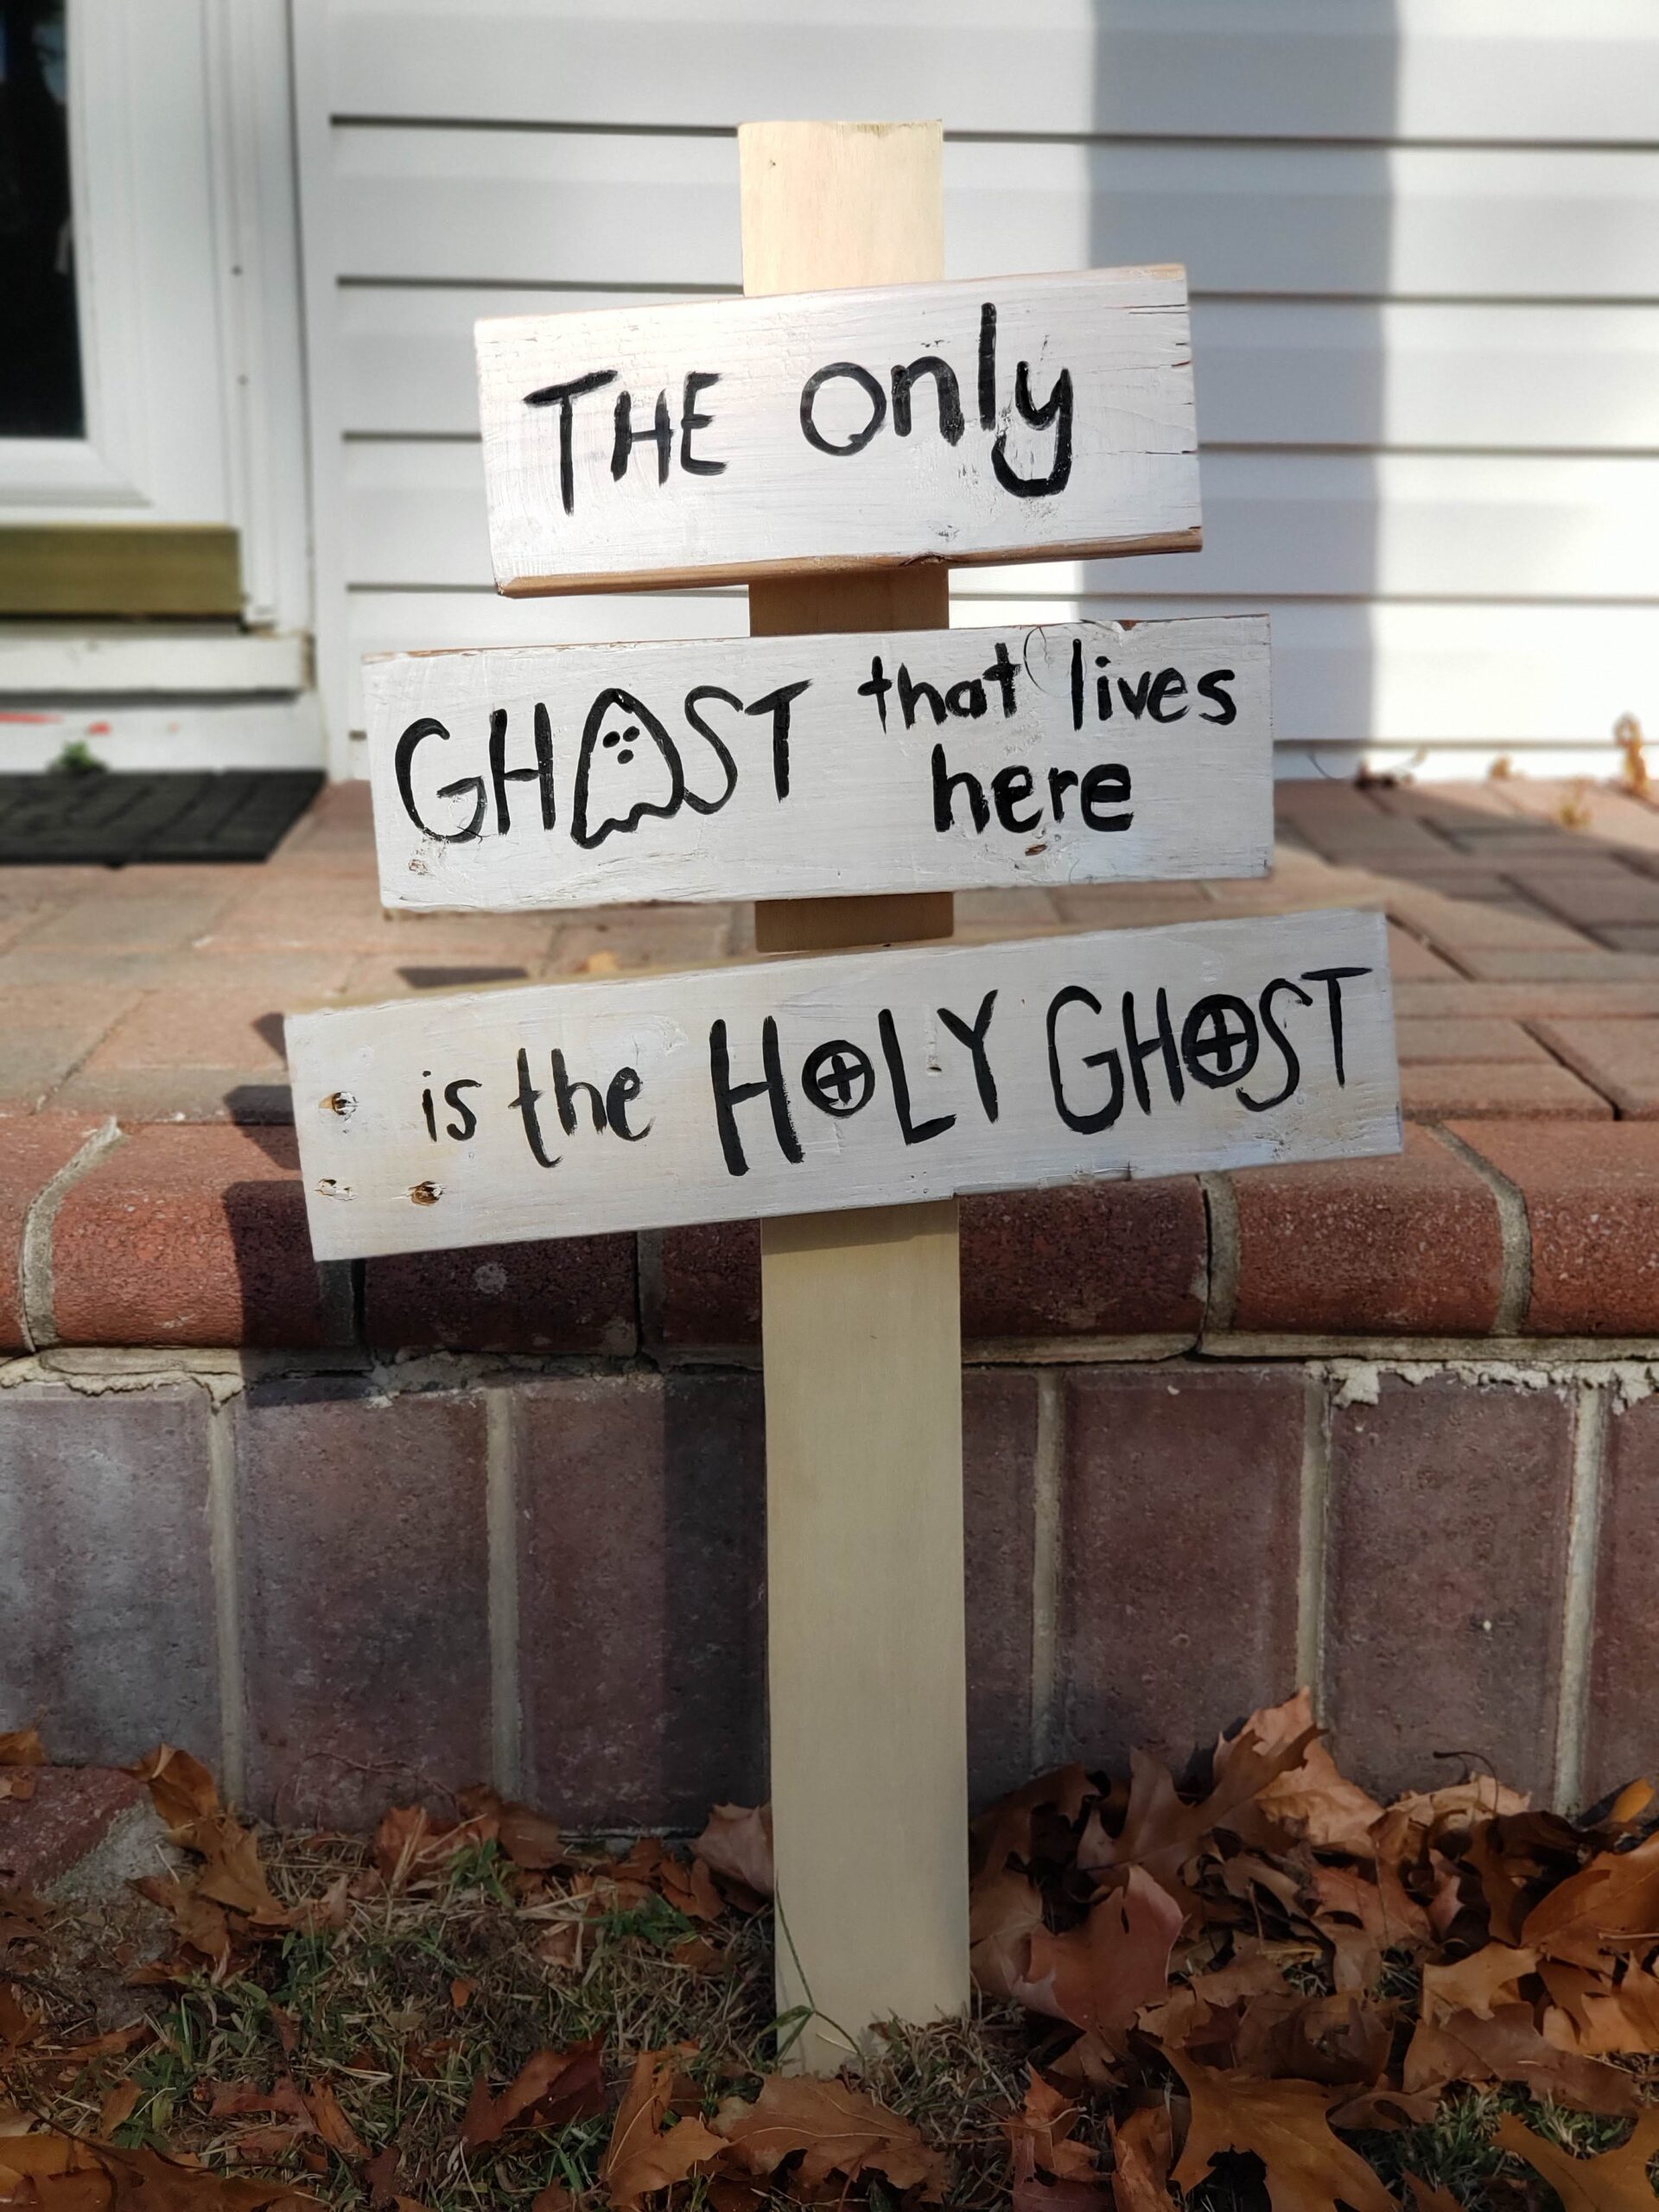
- “The Only Ghost that lives here is Holy Ghost”
- “All You Angels and Saints, Pray for us!”
- “All You Holy Souls, Pray for us!”
- Eternal rest prayer (may need more 2×4 for the entire prayer)
- “Happy All Hallow’s Tide”
- List of Saint names, followed by “pray for us” or “ora pro nobis”
- “Memento Mori”
- “Requiem Aeternam”
- “Saint Michael the Archangel, Defend us in Battle”
- “Sancte Michael Archangele, Defende nos in Proelio”
- John 1:1-14
Instructions
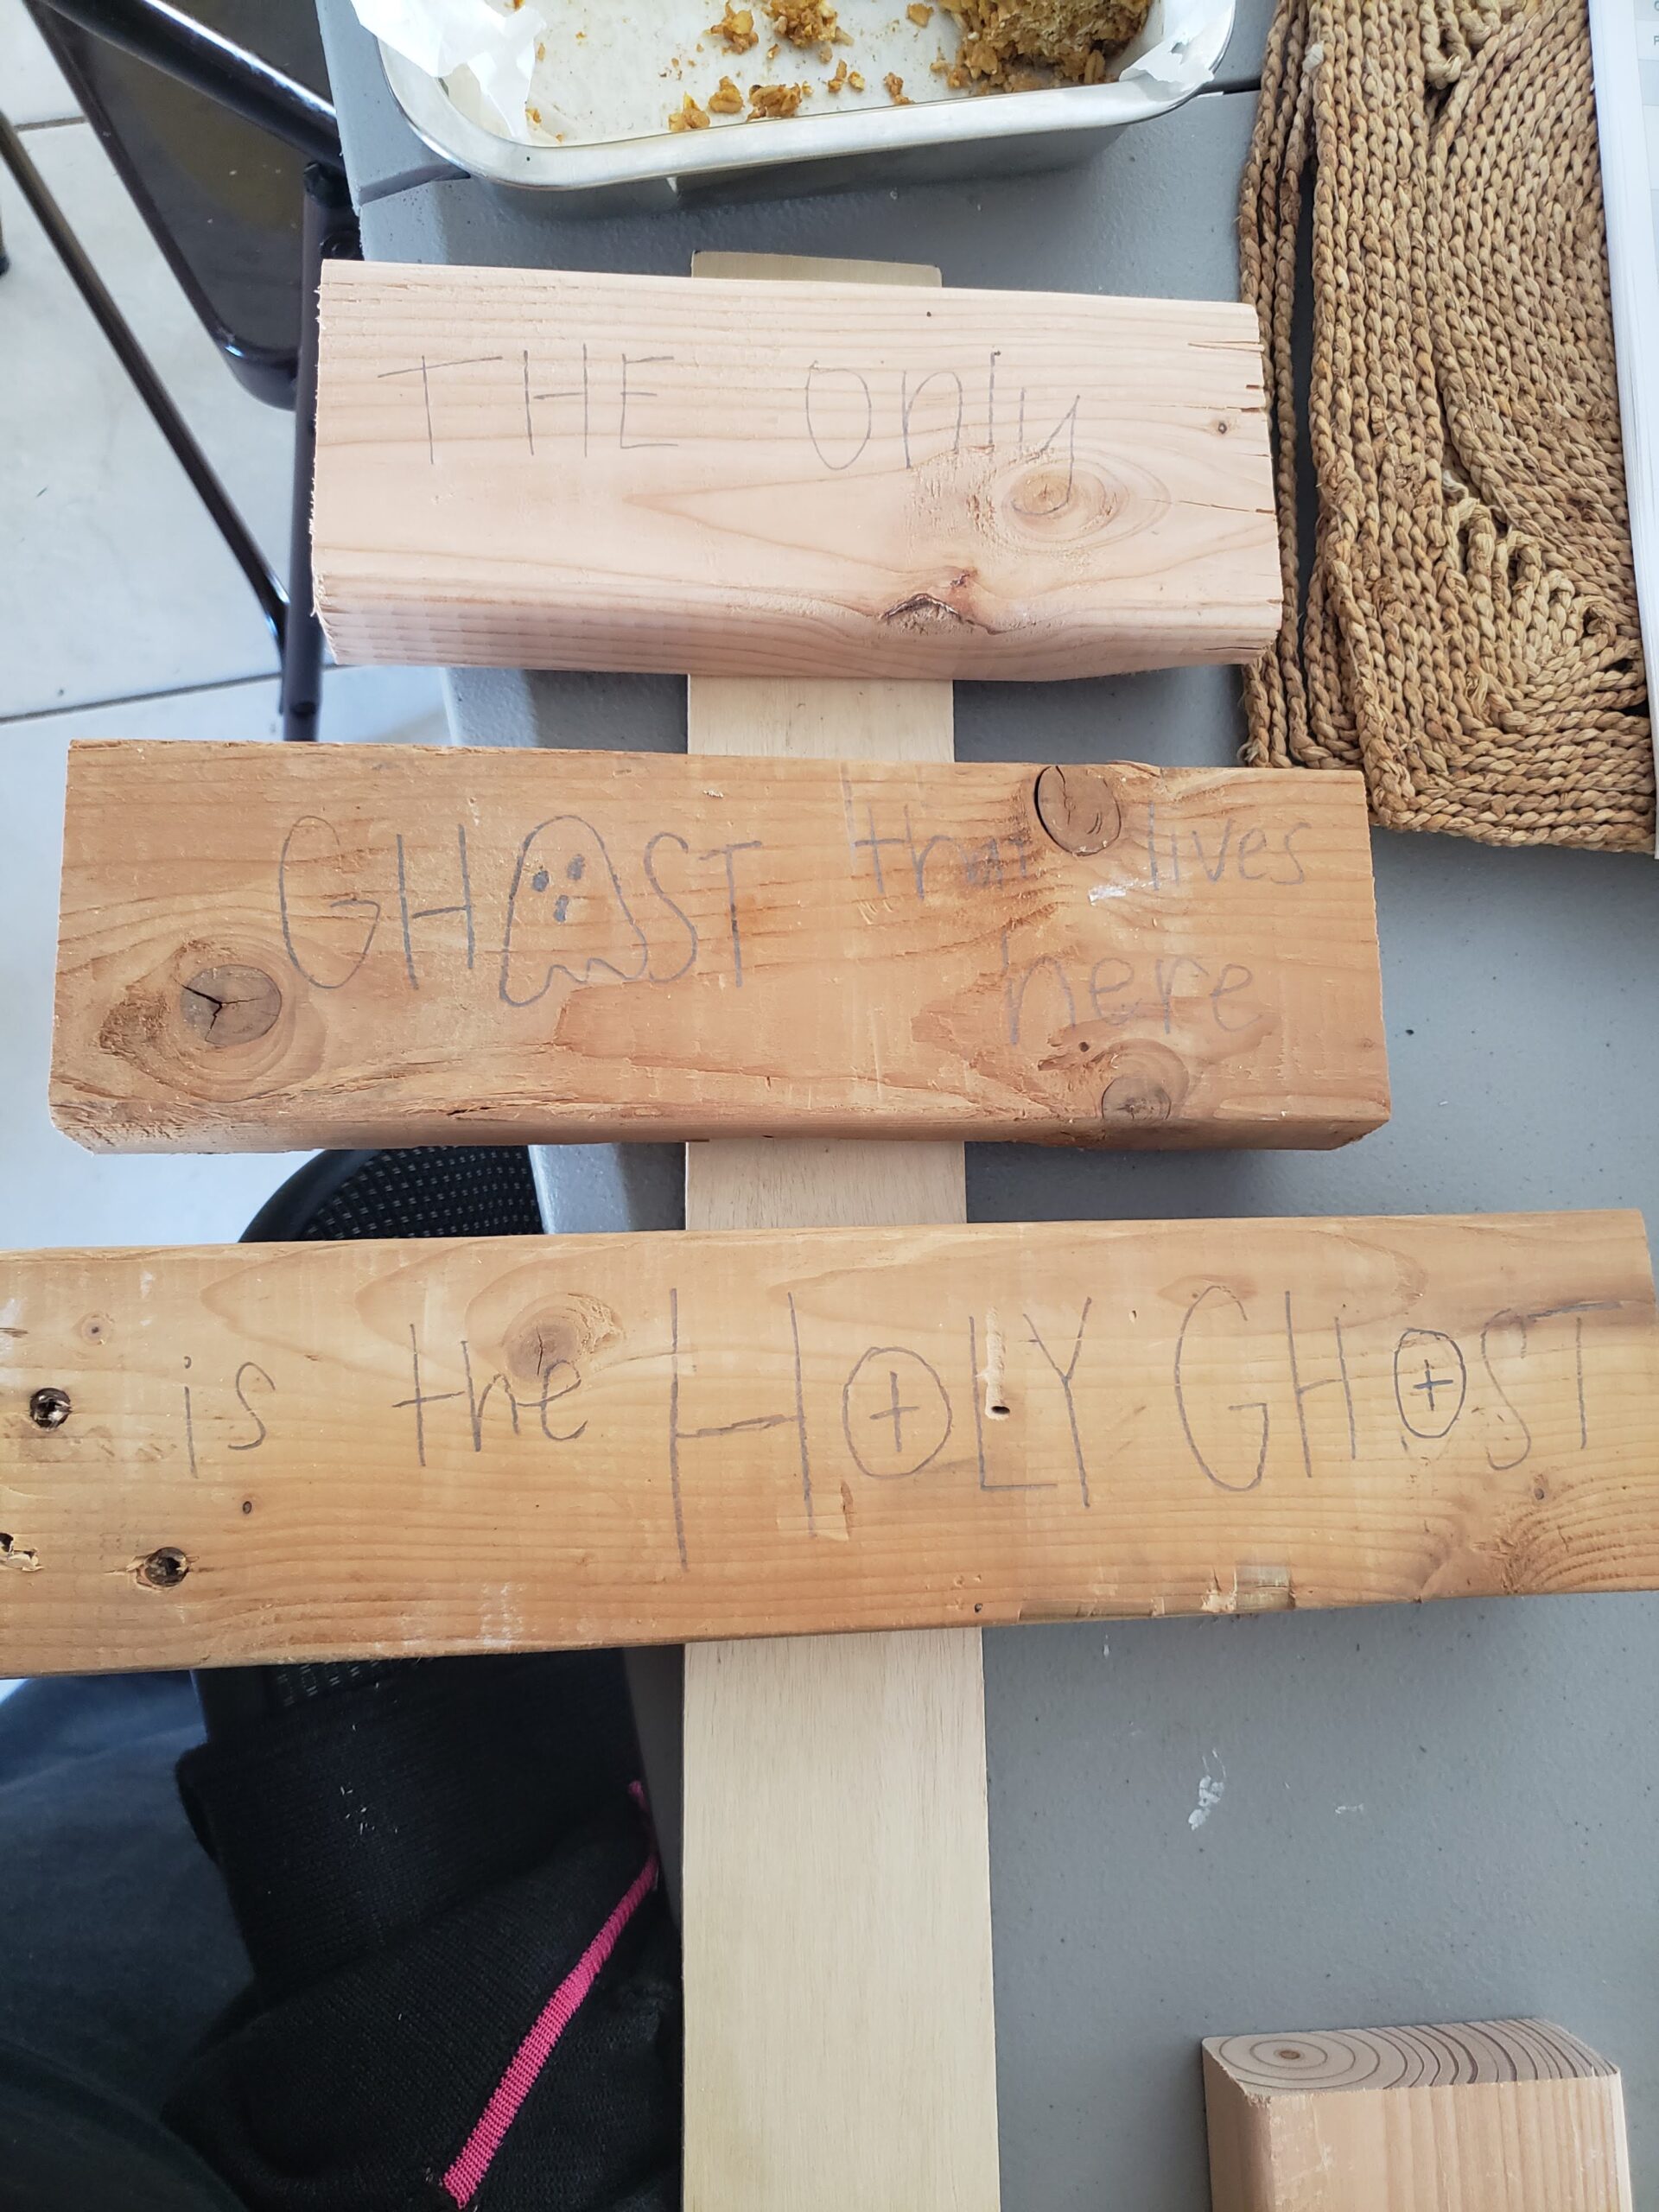
- Lay out your 2 x 4’s on top of the plywood (or whatever piece will be your post) with the shortest piece on top, followed by the second longest piece, and ending with the longest piece at the bottom. Spread them about 1″ apart, and put the top piece about 2.5″ from the top.
- With your pencil, draw out the desired saying on the wood. You can use my sign as a guide, or be creative with your own lettering and design.
- With your pencil, mark where the bottom edge of each piece of wood falls on the pack of the long piece (the post) as your guide for when it’s time to nail the sign pieces onto the post.
- Take a quick picture of your design because you will be painting over it.
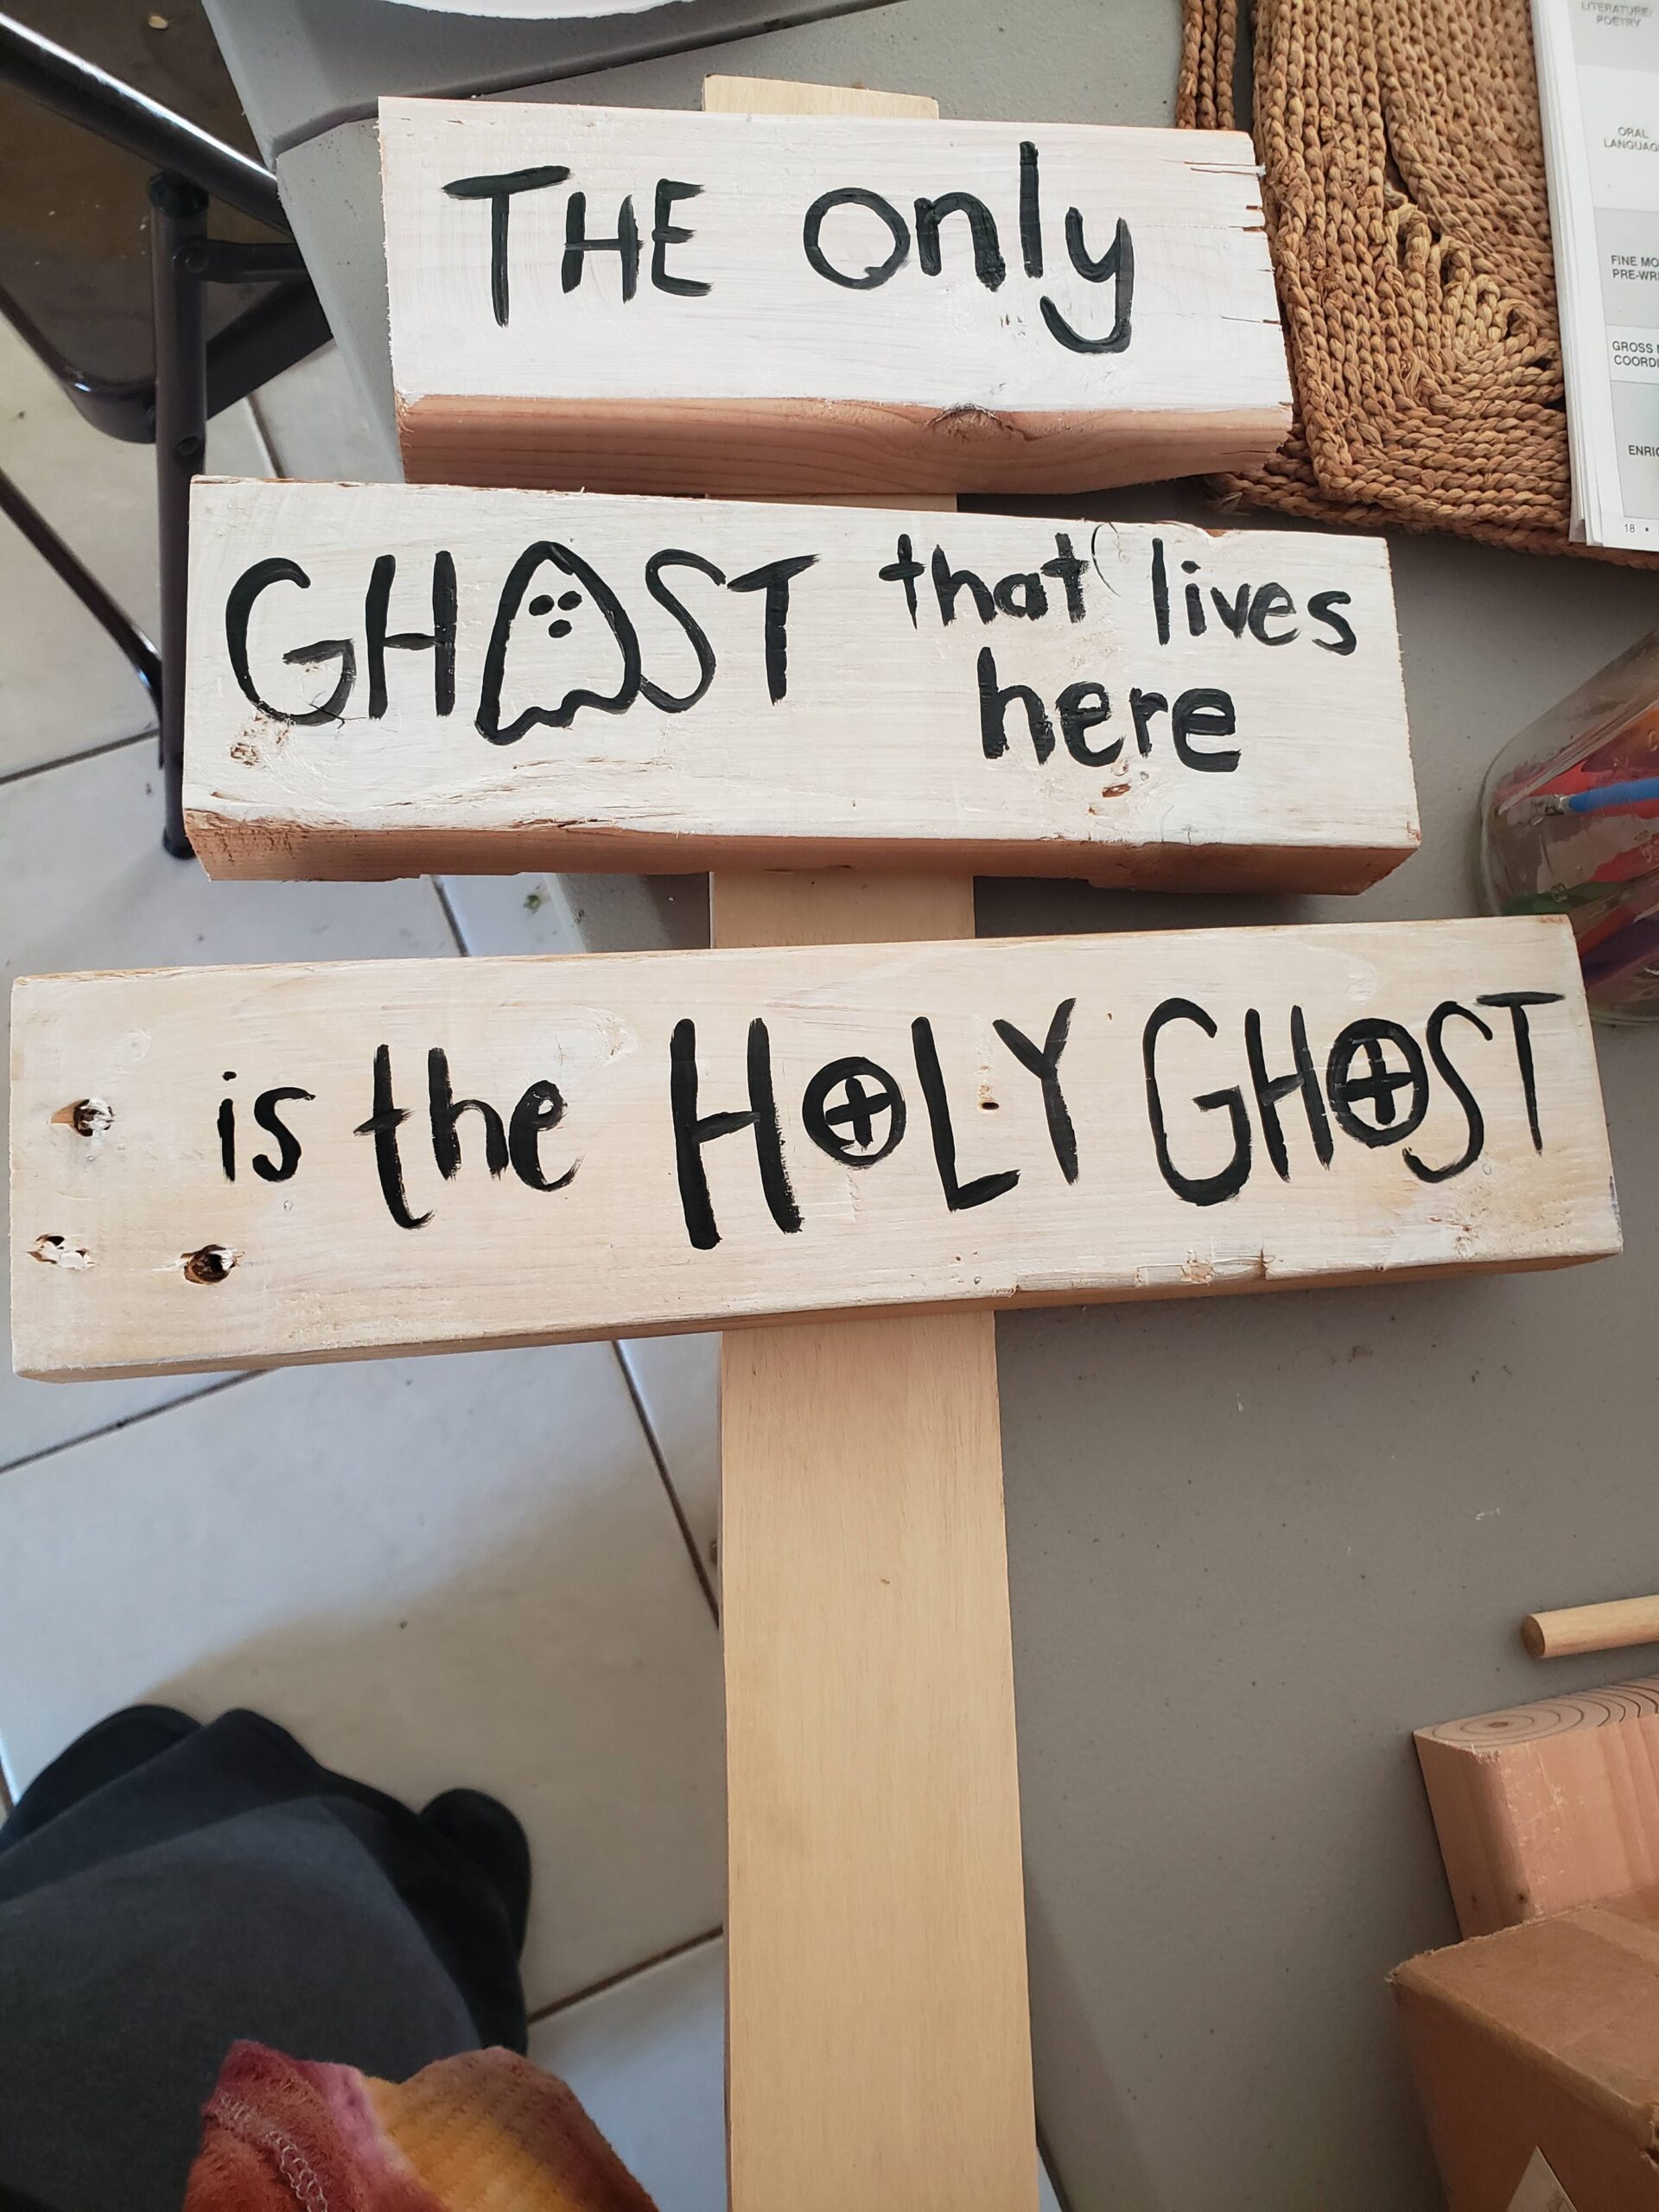
- With the white paint (or desired background color) and the sponge brush, paint each 2 x 4. Use as many coats as desired. I used 2 coats of white paint letting it dry in between. Allow to fully dry
- Paint on lettering with black paint (or any desired colors). Allow to fully dry.
- Finally, seal everything in using a clean sponge brush and a layer of mod podge. Allow to fully dry.
- Starting with the shortest 2 x 4, flip it face down on a concrete or other stable work surface and lay the post piece on top. Line up the 2 x 4 with the mark you made before, and attach it with 2 nails side by side.
- Attach the other two 2 x 4’s in the same fashion.
- Carefully use your mallet to drive the sign into the ground. Add some pumpkins or mums nearby and enjoy your new decoration!
Sharing is caring!